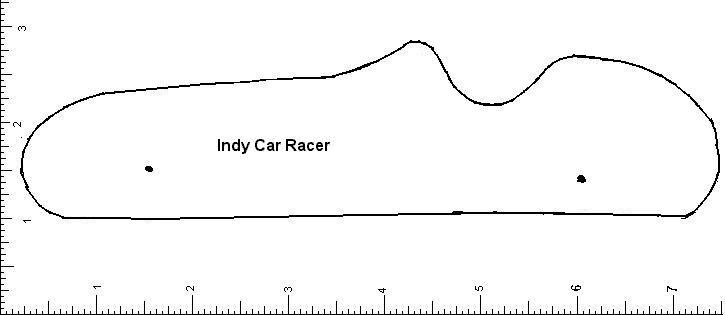
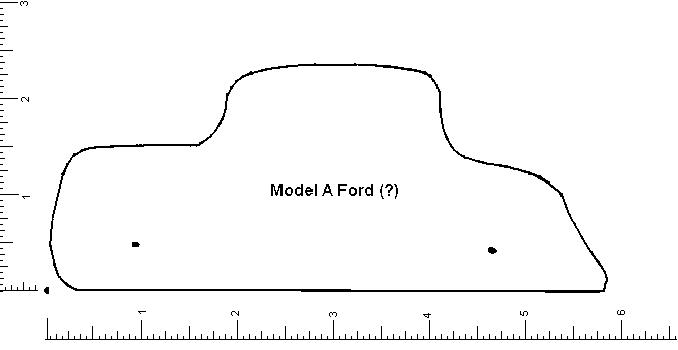
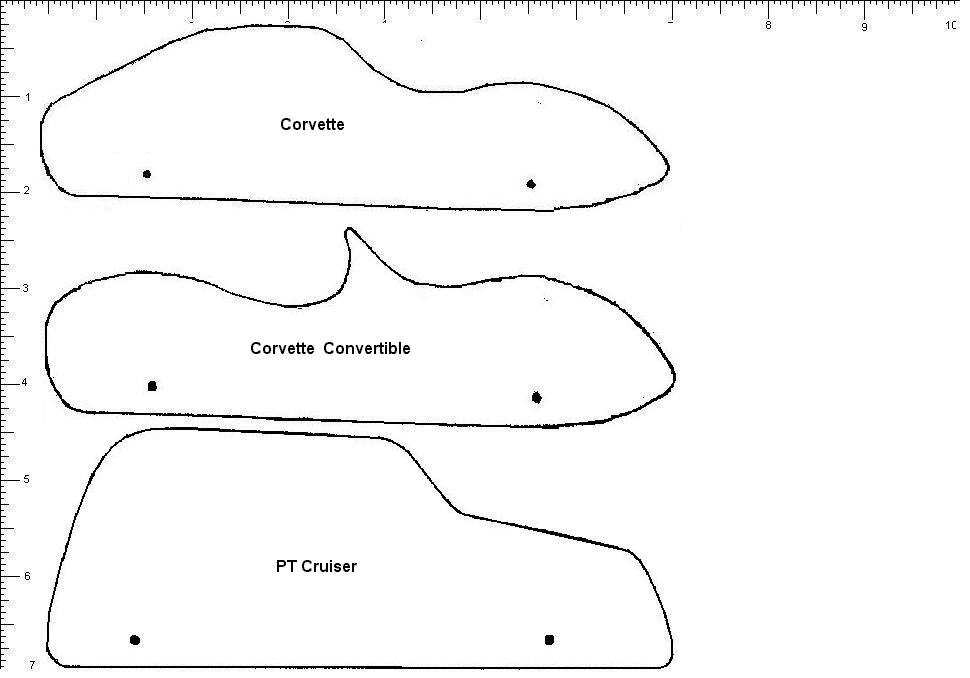
Bodies at least 1 1/2" thick.
Use 1 1/2" wheels and 7/32" axles.
Round over all edges with a 1/4" round-over bit.
|
Cars: Instructions: Finish sand the body. Finish the body with a clear polyurethane or a non-toxic paint. Don't finish the axles. The wheels may or may not be finished - your option. Cut off two of the 7/32" axles so that the stem is 1/2" long and tap them with a hammer into the EYE holes. Insert an axle through a front wheel (1/4" hole) and start the axle in the front hole with a tap of a hammer. Important: Insert a temporary plastic shim between the wheel and the body before seating the axle with a few more light taps. This shim assures that there will be clearance between the wheel and the body. When installing the wheel and axle on the opposite side make sure that you rest the installed wheel and the body on two pieces of wood with the hub of axle resting between them so that when you tap in the opposite side axle you will not drive in the axle and eliminate the clearance between the wheel and the body. Sand and finish the cars as in step 1 and 2 above. Install the wheels and axles using step 4 procedures above. Use the shim provided and make sure you don't drive the axle on the opposite side by using the two pieces of wood mentioned. |

