A Bandsaw Dovetail Jig
by Brainless


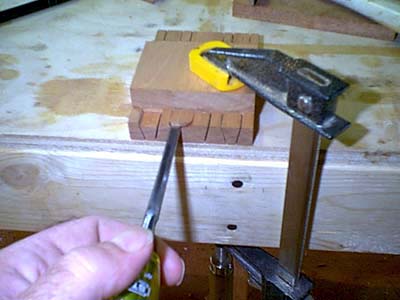
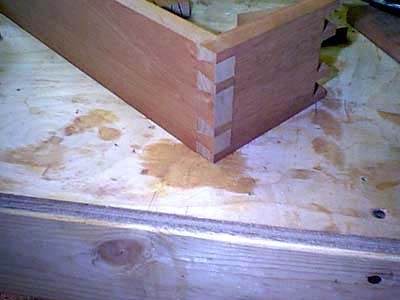
  • I have been playing around with handcut dovetails lately.
  • I wanted to learn an easy way to make them without the expense of the router jigs on the market.
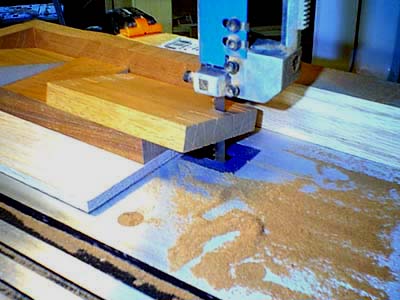
  • This is a jig I came up with while working towards this goal.

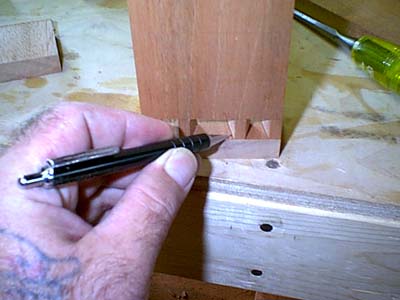
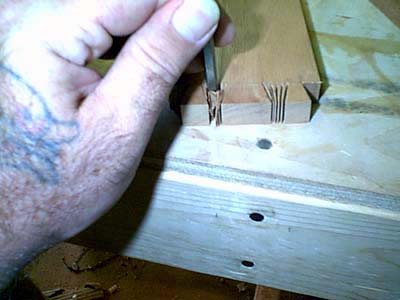
  • This jig is only used to cut the pins, but because it cuts them equally from each side, it makes them symetrical.
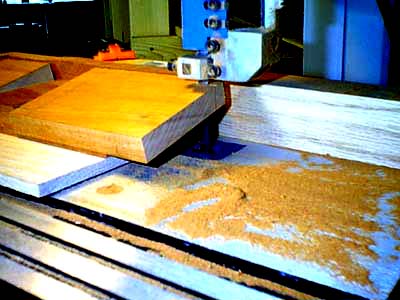
  • The key is in the wedge that sits in the sled.
  • This wedge is not attached, it just lays against the side.
  • This way it can be flipped to cut an equal, but opposite angle.

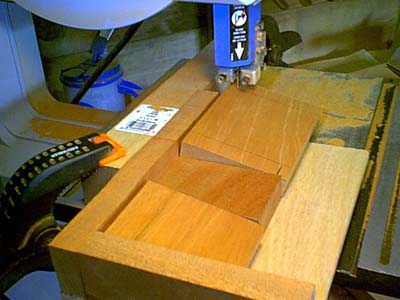
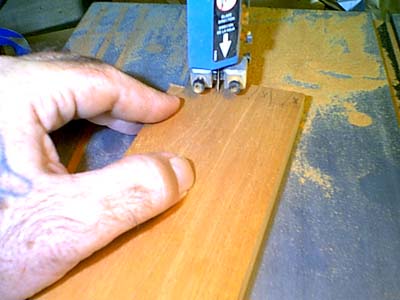
  • Dont ask what angle I used to cut the wedge.
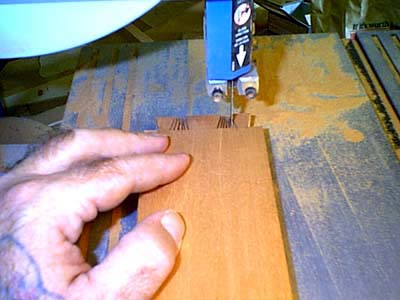
  • I just tilted the bandsaw till the blade was lined up from corner to corner on the wood and just started cutting.   Afterwards, I ran the wedge through the jointer to get a smooth surface.
  • I am sure you can set an angle if you wanted a particular angle to your dovetails.   I didnt think it was that important.
  • Here is the jig being used to cut the tails on the bandsaw.

  • I have a fence set up to keep it the correct distance away from the edge.
  • Once the first cut is made, the workpiece is rotated 180° to make the same cut on the opposite corner.

  • As you can see I use a few pieces of wood as spacers behind the workpiece so the end of the workpiece is sticking out the front of the jig.
  • This is done to keep the jig from being cut up.
  • After the first couple of cuts in the jig, I realized this was a better way to go.
  • Here is the jig from the other end.

  • Notice the pencil lines on the workpiece.

  • They are there to show where to stop the cut.

  • Because I have not used a stop, I had to be careful not to overcut the workpiece.
  • After the first cuts are made,

  • the wedge is flipped over and the workpiece is flipped over.

  • Then the bandsaw fence is moved further away from the blade.

  • This allows the blade to cut the opposite angle on the pins.

  • This is done until all the cuts are made.
  • Next comes the manual work.

  • First, I score the one side with the chisel so when I cut through from the other side, I get a clean cut without chipout.

  • Then I flip the piece and start scoring and chipping until the waste pieces are removed.

  • Be very careful not to remove the wrong parts of the pins.
  • I use a straight edge piece of wood Clamped above the workpiece right on the line.

  • This is so I get a straight line on the bottom of the pins.
  • Once the pins are cut out...

  • Rotate the piece and cut the other side.

  • Then, start on the tails.
  • First I place the pins end-down on the workpiece.

  • Then, I sketch out the tails using the pins as a guide.

  • It is important that the pins are at the very edge and lined up perfectly while the tails are drawn.

  • Also, make sure the pins are facing the right direction.

  • If you dont, your dovetails will end up backwards and not hold.
  • Next I take the workpiece to the bandsaw and cut the tails out by hand.

  • I try to cut with the blade running through half of the line.   I find that if I take out half the line, I get good fitting dovetails.

  • Notice the pencil marks on the workpiece.   I have made a mistake before and cut out the wrong parts.
  • Now I make cuts into the waste sections so they are easier to remove.

  • Trying to remove the waste sections without doing this is very hard to do without messing up the tails.
  • I then take the workpiece back to the bench and chisel out the waste.

  • I am careful not to mess up the dovetails or the sholder of the dovetails.
  • Finally the dovetails and pins are joined.
  • Sometimes the dovetails dont come together perfect.   When this happens, I use a rasp to carefully file down the tails till I get a good fit.

  • I am not a professional.
  • I am just learning.
  • I found that this works for me.
  • If you are looking for a way to make dovetails without the expense of a router based dovetail jig, this may just be an alturnative.   If not, then I hope you got some enjoyment out of reading this.


  • Brainless


    This site is maintained by:
    Good-Lyddon Data Systems

    Copyright © 2004-2007 Joe Lyddon, WoodWorkStuff.net