Well... when I am exhibiting my little boxes at a craft show,
the WWs who stop by usually have 3 questions...
Question #1: Where do you get your wood?
Answer: Trees usually.
Thats always good for a chuckle before I fess up and tell them my
local sources.
Question #2: How do you finish these?
Answer: Rude and Crude.
Then I tell them about shellac first followed by oil.
Question #3: What do you use to make these miters?
Answer: My homeowners tablesaw and a miter
gauge.
Thats the point they usually stop believing me.
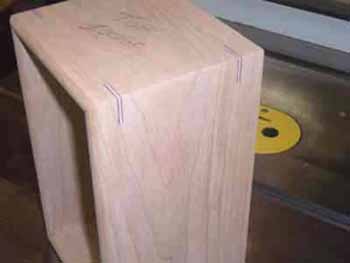
I suppose lots of folks think there is magic somehow in
cutting perfect miters... I'm talking about gap-free,
crisp, perfect miters.
Anyways... I'm writing the section in my book about
building box carcasses... so I figured I'd share a
few of the photos that speak to making perfect miters...
There is no magic at all here...
just paying attention to the basics...
Here is how I go about it...
If you aspire to make truly perfect miters...
then IMHO you need to square away:
your tablesaw,
your accessories and
your timbers.
Then perfect miters are a cakewalk everytime.
Lets speak to each of those points individually...
Your tablesaw needs to be in tune.
If you have any doubts about how to tune your saw...
then I recommend to you the great book
"Mastering Woodworking Machines" written by Mark Duginske.
Duginske is best know as a Master of the bandsaw...
but this is a fine text and describes in clear language
how to tune and maintain all the power tools in your shop.
Paraphrasing from Duginske...
a properly tuned tablesaw will have the following
characteristics...
1. The table top and extensions are flat.
2. The cradle and arbor assemblies are secure.
3. The arbor turns smoothly without excessive
runout.
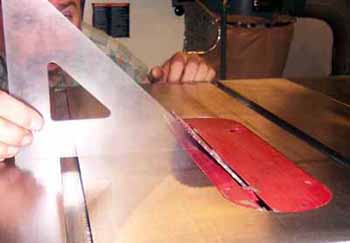
4. The miter gauge slots are parallel to the blade.
5. The blade is at 90 degrees to the table.
6. The miter gauge is at 90 degrees to the blade and to
the table.
7. The rip fence is parallel to the blade and at 90
degrees to the table.
Duginske covers how to check and adjust all of those
items... and that's part of what I was doing yesterday.
Unless your saw is in tune... forget the rest
of this post.
You can't get to perfect miter heaven with a sloppy saw.
OK... so your saw is squared away?
Good for you.
Now, take a look at the two accessories that you need to
make perfect miters... your sawblade and miter
gauge.
Your blade needs to be clean and sharp.
I use a Freud 80-tooth cut-off blade for making miters.
It is clean and sharp.
Several years ago I purchased a Woodhaven
miter gauge
because it has the ability to be adjusted to fit the
miter slot perfectly without any play.
You can get there of course as well with a stock miter
gauge... I recall dimpling the edge of the bar with a
punch to get the fit proper.
Either way... side-to-side play in your miter gauge is
a no-no. Correct it.
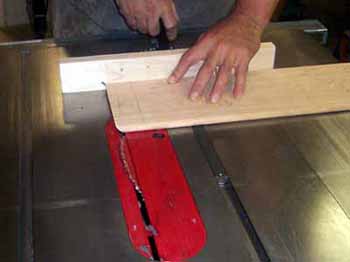
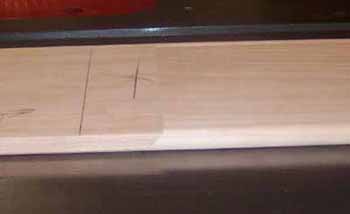
Lastly...
I add a scrap wood extension to my miter gauge.
It gives me some backup to the cut to prevent tearout...
and also allows me to see exactly where the cut will be made.
You have those accessories squared away?
Good for you again... you're almost there.
Last required element...
your timbers themselves.
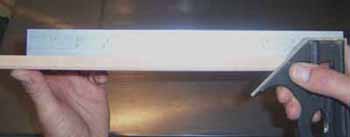
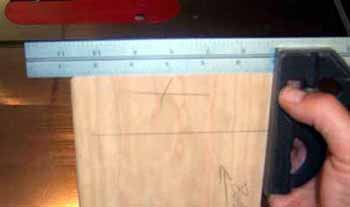
I hope it goes without explaining, that whatever you are
trying to miter, it needs to be flat with parallel edges.
If you have all these things in place... a tuned saw,
squared away accessories and properly prepared
timbers... then you are ready to cut perfect miters
with your tablesaw alone.
Photos are next.
|
|
|